

How To Simplify Colors In Photoshop
Use the Color Sampler tool in Photoshop
This walkthrough is a simplified version of how you would get two different images to harmonise together using the Color Sampler tool and Curves layers in Photoshop.
We're using the Color Sampler tool here, on two images taken by photographer Ruth Rose, to match an approximated black point (or at least a dark region of shadow) in a background to a similarly dark region on our subject. In principle, to get the images working together we would want to match their black, grey and white points – however this isn't always easy, and it tends to be the shadows that give away superimposed images if they're not well matched.
We'll then apply a subtle tone and colour filter over the whole image to bring it together a bit more. You would also use sharpening, if necessary, to ensure the subject doesn't look out of focus against a defined backdrop.
Step 01
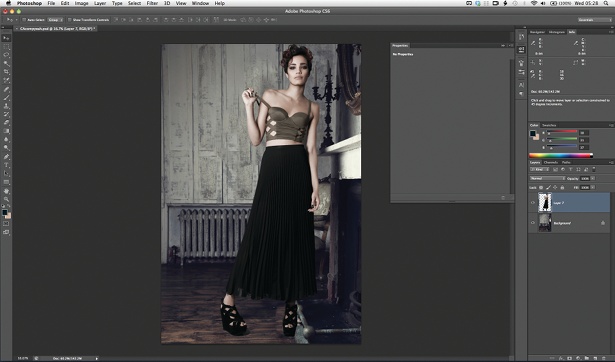
With your subject neatly cut out, the first thing to do is to paste it onto your new background. You'll probably want to position and resize the subject using the Free Transform tool. With the subject in place, your first challenge is to match its shadows to your background. To do this, select the Color Sampler tool (an alternative version of the Eyedropper tool) and click on the darkest part of the background.
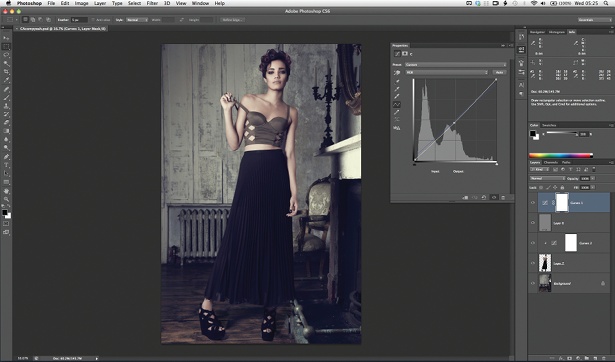
Step 02
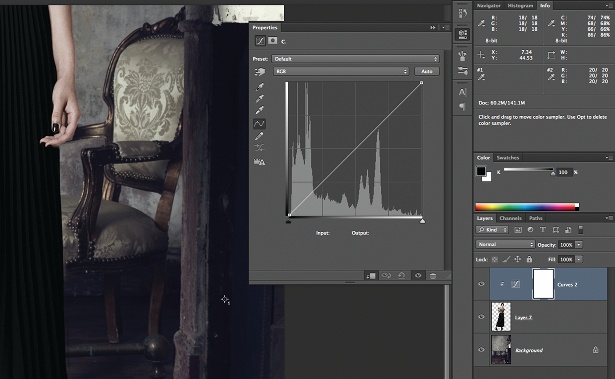
With the Info display visible, note the R, G and B values displayed in the first box. Now click on the darkest point of your subject, and note the values in the second box. The second needs to match the first. Add a Curves layer, and attach it to your subject layer by Opt/ Alt+clicking between the two layers in the Layers panel. (The values in the first box won't be visible if the Curves layer is selected, so write them down.)
Step 03
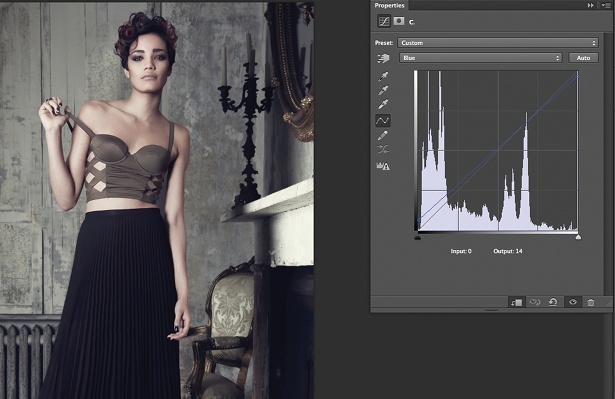
Our Blue value in box one was 30, while our subject's Blue (box two) reads 20. Select the Blue channel in your Curves layer, and drag the bottom-right (black) point up, noticing how this raises the Blue value in box two. Stop when it reaches 30. To balance the over-blue mid-tones, I'm bringing the top-left (white) point down a little. Repeat the process for the Red and Green channels.
Step 04
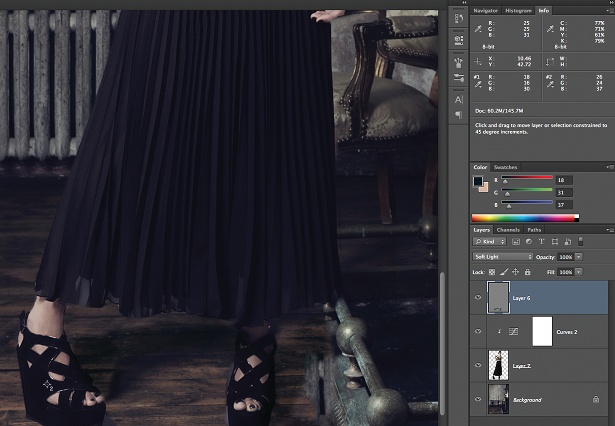
With the black points matched, you may still find your subject's shadows appear too bright or too dark. For this, you can adjust the black-point on your Curve's RGB channel by eye. Now to add some shadows around the feet. Select New Layer from the Layers panel; choose a blending mode of Soft Light, and tick Fill with 50% grey. Use a soft black brush on this layer to paint some shadows in where necessary.
Step 05
We can bring this scene together a bit more by adding a colour filter over the whole image. Here, I'm adding another Curves layer and raising the black point again, while bringing the mid-tones down slightly. I'm also going to raise the blackpoint in the Blue curves channel to add a bit more of a stylised blue to the shadows, and bring its white point down to add some yellows to the highlights.
Liked this? Read these!
- Free Photoshop brushes every creative must have
- Illustrator tutorials: amazing ideas to try today!
- Free Photoshop actions to create stunning effects
- The best Photoshop plugins
- The ultimate guide to designing the best logos
- Master studio portrait photography!
Related articles
How To Simplify Colors In Photoshop
Source: https://www.creativebloq.com/photoshop/video-tutorial-harmonise-tricky-tones-and-colours-1132737
Posted by: christensenplousee.blogspot.com
0 Response to "How To Simplify Colors In Photoshop"
Post a Comment